2D Code Marking of Cathode and Anode Coatings
Applications for Aut...Description
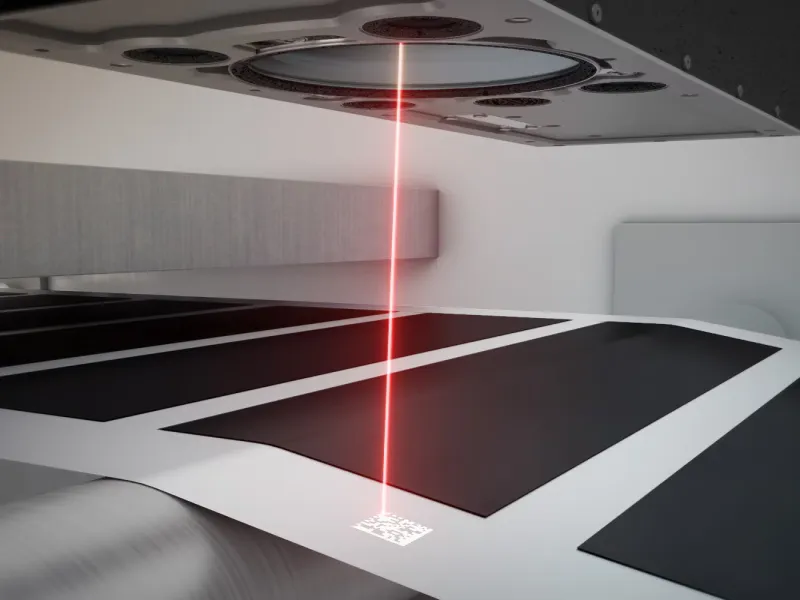
After receiving the liquid powder, the cathode and anode coatings are pressed and split (cut). The laser then marks the coating according to the inspection results (thickness data, defects, etc.).
Actions
Share
Related Products

Checking Code Quality During Delivery to Improve the Quality of Goods Sent
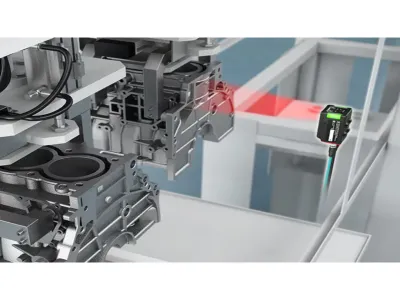
<p>Failure to verify code compliance on delivery with ISO standards means that failure to read could result in the product being shipped without leaving any records. Use the 1D/2D Code Reader's built-in Code Verification Function to check and record code compatibility with ISO/IEC TR29158 standards.</p><p style="text-align: center;"><strong>Conventional Products</strong></p><p><img src="https://www.keyence.co.id/img/application/95059.png"></p><p>Unable to check conformance with ISO standards</p><p style="text-align: center;"><strong>1D/2D Code Reader Unitek</strong></p><p><img src="https://www.keyence.co.id/img/application/95060.png"></p><p>Assess print quality in accordance with ISO/IEC TR29158!</p>

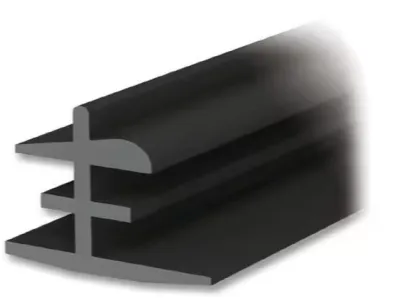
Measurement on Weather Strip
<p>Profile tolerance measurements can be done easily by comparing them with CAD drawings or master samples.</p><p><img src="https://www.keyence.co.id/img/application/92801.jpg"></p>

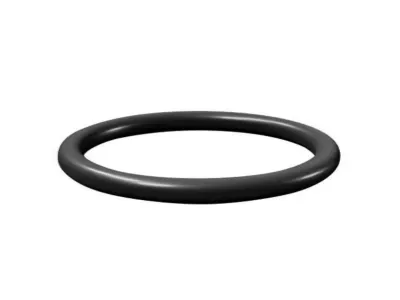
Measurements on Oil Seals, O-Rings and Mechanical Seals
<p>In addition to the inner and outer diameters, the minimum and maximum diameters can also be measured easily. Weld residue can also be recognized and measured automatically.</p><p><img src="https://www.keyence.co.id/img/application/90839.jpg"></p>
